Let's Make an Information Display Part 2: Frontend
So we have our data. We need some way to display it in a human-friendly format. Obviously I don't have anything against pure json, but it does not make for good information density.
If we're building a frontend application, the most obvious answer is Javascript. But I'm not going to be writing Javascript in my free time. That'd be like writing a Go backend: completely unbecoming.
What do we use instead? That was rhetorical, we're obviously using rust.
There's a number of front-end Rust libraries, but the three I considered were dioxus, percy, and yew. I'd previously used Yew for ezeerust, a web frontend for a z80 emulator I wrote. The others I just got from various blog posts other people have written. Since this is a purely personal project I engaged in some vibes-based-engineering.
And by that I mean I started writing this thing in September and have no idea why I picked what I did. Yew it is!
Connect for
Our data is waiting for us on the other end of the websocket, so the first thing to do is connect.
fn connect(&self, ctx: &yew::Context<Self>) -> Result<(), JsError> {
      let ws = WebSocket::open(format!("ws://{}/ws", get_host()).as_str())?;
      ctx.link()
          .send_stream(ws.err_into().and_then(parse_ws));
      Ok(())
  }
Since this is a wasm app intended to run in a browser, we're using gloo_net for websockets.
But already this looks pretty familiar!
Yew and Me
Yew is similar to React.js, which means it's declarative.
Where a vanilla Javascript app might say "change #busupdate .route26 to this text,"
you instead say "The bus route should look like this" and the system figures out how to efficiently make changes.
This looks remarkably similar to actix! We've got a Context and we're going to send a stream somewhere.
Here's the signature for send_stream we're calling here:
pub fn send_stream<S, M>(&self, stream: S)
where
    M: Into<COMP::Message>,
    S: Stream<Item = M> + 'static,
and here's add_stream from actix:
fn add_stream<S>(&mut self, fut: S) -> SpawnHandlewhere
where
    S: Stream + 'static,
    A: StreamHandler<S::Item>,
But while an Actix application features a collection of quasi-autonomous Actors sending each other async messages,
Yew applications are built out of a tree of Component objects.
We'll have one Application component that creates lots of little Gauge components,
and they'll all create smaller components still.
Also an Actor, a Component only handles one kind of message.
Let's look at the trait:
pub trait Component: Sized + 'static {
  type Message: 'static;
  type Properties: Properties;

  // Required methods
  fn create(ctx: &Context<Self>) -> Self;
  fn view(&self, ctx: &Context<Self>) -> Html;
}
Usually Component::Message would be an Enum type,
but in our case we only care about the results of parsing websocket inputs
we called with add_stream:
type Message = Result<DenMessage, DecodeError>;
Then we just need an update handler:
fn update(&mut self, ctx: &yew::Context<Self>, msg: Self::Message) -> bool {
    match msg {
        Ok(DenMessage::Update(update)) => self.handle_gauge(update),
        // stay tuned for part 3!
    }
}
All handle_gauge will do is update the fields of the application which look like this.
pub struct App {
    bus_arrivals: LastUpdate<Vec<BusLine>>,
    //snip
}
impl App {
    fn handle_gauge(&mut self, msg: GaugeUpdate) {
        match msg {
            GaugeUpdate::BusArrival(bus) => self.bus_arrivals.set(bus),
            // snip
        }
    }
}
LastUpdate is a wrapper that provides a little housekeeping,
specifically tracking when last a field was updated.
This information is used to detect stale data. If a gauge hasn't been updated in a while, it'll visually dim itself so we know not to trust it.
Render Unto Caesar
Now that we have our data secured, we need to display it!
Somehow this internal state needs to become HTML.
And Yew has a very nifty mechanism for doing this:
the html!() macro.
Similar to React's JSX, this lets us write natural-ish HTML. Here's the snippet for the bus updates:
fn view(&self, _ctx: &yew::Context<Self>) -> yew::Html {
    html! {
        <main class={classes!("container")}>
            <Gauge slug={"bus"} stale={self.bus_arrivals.stale()}>
                <BusGauge routes={self.bus_arrivals.get()} />
            </Gauge>
            // snip
        </main>
      }
}
Like with JSX, lowercase tags are just plain HTML,
in this case a semantic HTML tag.
But Gauge and BusGauge represent capital-C Components.
Gauge is pretty simple, basically "Wrap in <article> with these classes,
indicating if it's stale.
#[derive(Properties, PartialEq)]
pub struct GaugeProps {
    pub stale: bool,
    pub slug: &'static str,
    pub children: Children,
}

#[function_component(Gauge)]
pub fn gauge(props: &GaugeProps) -> Html {
    let cls = classes!("gauge", props.slug, props.stale.then_some(Some("stale")));
    html! {
        <div class={cls}>
            <h2>{props.slug}</h2>
            { props.children.clone() }
        </div>
    }
}
We can see the stale and slug arguments that correspond to
attributes we passed in.
Children is a special value that allows us to wrap other tags in <Gauge></Gauge> tags.
Otherwise, we'd have <Gauge /> and it wouldn't be nearly as expressive.
But this a a pretty simple component.
BusGauge is where it gets interesting.
Gauge your Interest
#[derive(Debug, Clone, Properties, PartialEq)]
pub struct BusProps {
    pub routes: Rc<Vec<BusLine>>,
}

pub struct BusGauge;
Yew components are supposed to store most of their data in Properties. the component gets re-rendered.
This is good!
That's how information trickles down the component graph from the root.
The BusGauge struct will exist for the life of the application.
If we stored information there at create time,
It'd never be updated when App sent us new data.
The Rc there is because Properties are cloned very frequently,
so it's a good idea to make those clones cheap.
Let's see what that this view method looks like.
fn view(&self, ctx: &yew::Context<Self>) -> Html {
    html! {
        <ul>
            {for ctx.props().routes.iter().map(bus_route)}
        </ul>
    }
}
Fair enough. bus_route similarly maps down to individual_arrival(),
which handles the numbers.
That's where the interesting stuff happens.
Let's look back at BusArrival:
#[derive(Serialize, Deserialize, Debug, Clone, PartialEq)]
pub struct BusArrival {
    pub arrival: chrono::DateTime<Local>,
    pub live: bool,
}
arrival is an absolute Datetime,
but we know our display is just minutes to arrival.
So we calculate that.
let mins = (arrival.arrival - Local::now()).num_minutes();
What happens if mins is less than zero?
We skip it, of course.
individual_arrival returns Option<Html> instead of Html,
because a departure time of -1 isn't too useful.
But otherwise, we render it out.
(mins > 0).then(|| {
      html! {
              <li> { format!("{}", mins)}
              if arrival.live {
                  <sup class={classes!("arrival-live")}>{"🛜"}</sup>
              }
              </li>
      }
  })
bool::then is a handy method that returns Some if true, or None if false.
Could this be an if? sure!
But I really like chains like this.
Debate me in the comments1.
Then we just write out the minutes, with the little icon if it's live.
It probably should be a fancy SVG icon,
but I'm a backend person at heart, cut me some slack.
We're all done, though! We've rendered our gauge!
…once.
Nothing But Time
There's actually two kinds of Component you can write in Yew:
function components (like the Gauge) and struct components (like BusRoute).
The function components have a lot less boilerplate,
but the struct components give you a lot more control over the lifecycle.
We're using that here.
Here's BusGauge::create, called when our component is initialized:
fn create(ctx: &yew::Context<Self>) -> Self {
    let _ = {
        let link = ctx.link().clone();
        Interval::new(30_000, move || link.send_message(()))
    }
    .forget();

    Self
}
First, we get a reference to ourselves.
Then, every 30 seconds, we send ourselves an empty message.
Interval is from the gloo_timers package, and by calling forget we ensure it will run indefinitely.
The content doesn't matter: any message will call
Component::update.
fn update(&mut self, _ctx: &yew::Context<Self>, _msg: Self::Message) -> bool {
    true
}
update returns a boolean, which represents whether we should re-render our element.
By doing so unconditionally, we re-render our gauge every 30 seconds.
And because the minute offset is calculated at render-time, not on the backend,
it'll never be more than 30 seconds out of date.
I actually use this for a World Clock gauge too. By setting the update interval to every second and sticking a Local::now() in the render, you've got a nice little clock that never goes stale.
CSS
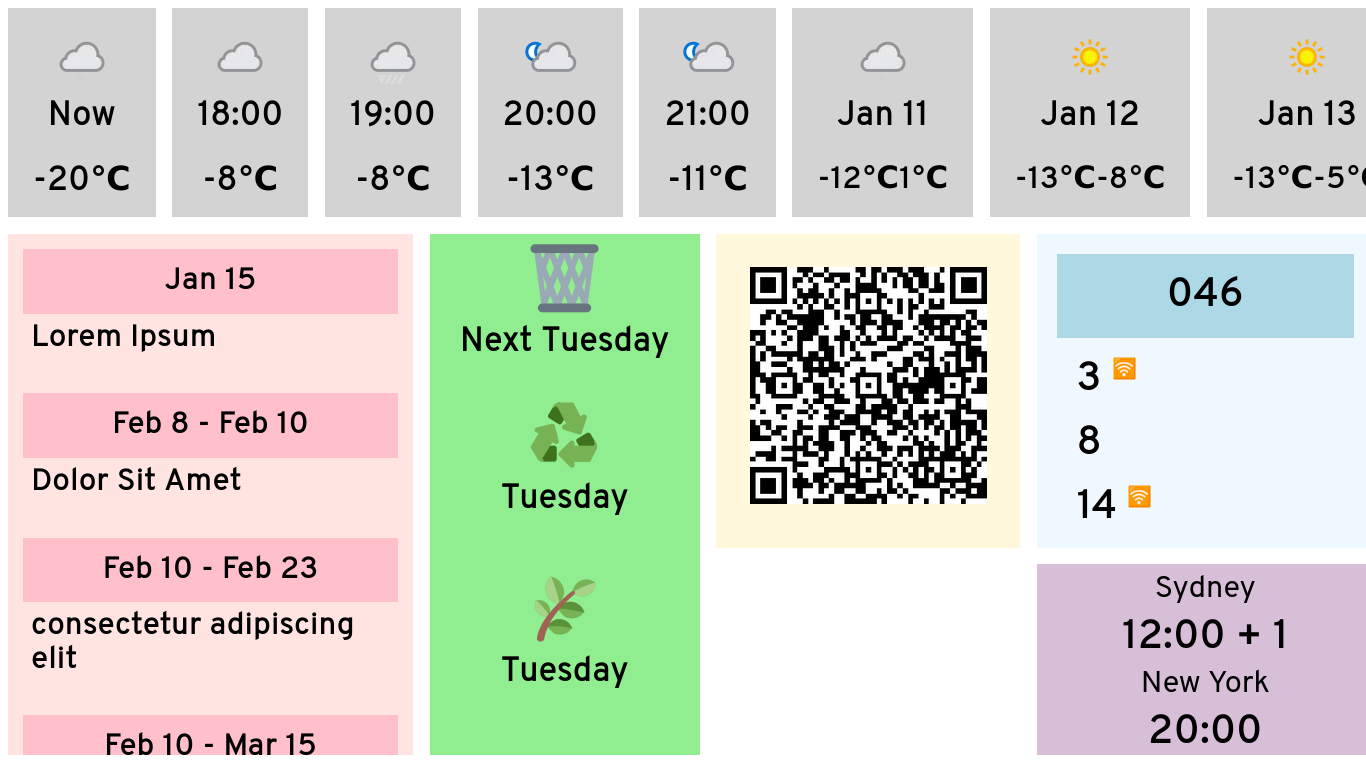
Here's the part of web development that feels the most black magic to me. I've got to turn this:
Into something that conveys information usefully.
Now, let's do some expectation setting. I picked colours mostly based on named HTML colours. This is not going to win any design awards. But it will, hopefully, be legible.
Let's get started!
Variable Speed
Did you know CSS has variables now?? Check this out:
.bus {
    --bg: aliceblue;
    --2nd: lightblue;
}

.gauge {
    background-color: var(--bg);
}
Did you think I was joking about named colours? I love named colours.
The Grid… a digital frontier…
The biggest thing I learned how to use was the Grid layout
I've been doing web development since rounded corners required PNGs, so this feels like the deep magic.
Here's my template:
.container {
    display: grid;
    gap: .5em;

    grid-template-areas:
        "weather  weather weather weather"
        "calendar trash   wifi    bus"
        "calendar trash   .       clock";
}
And look what this makes:
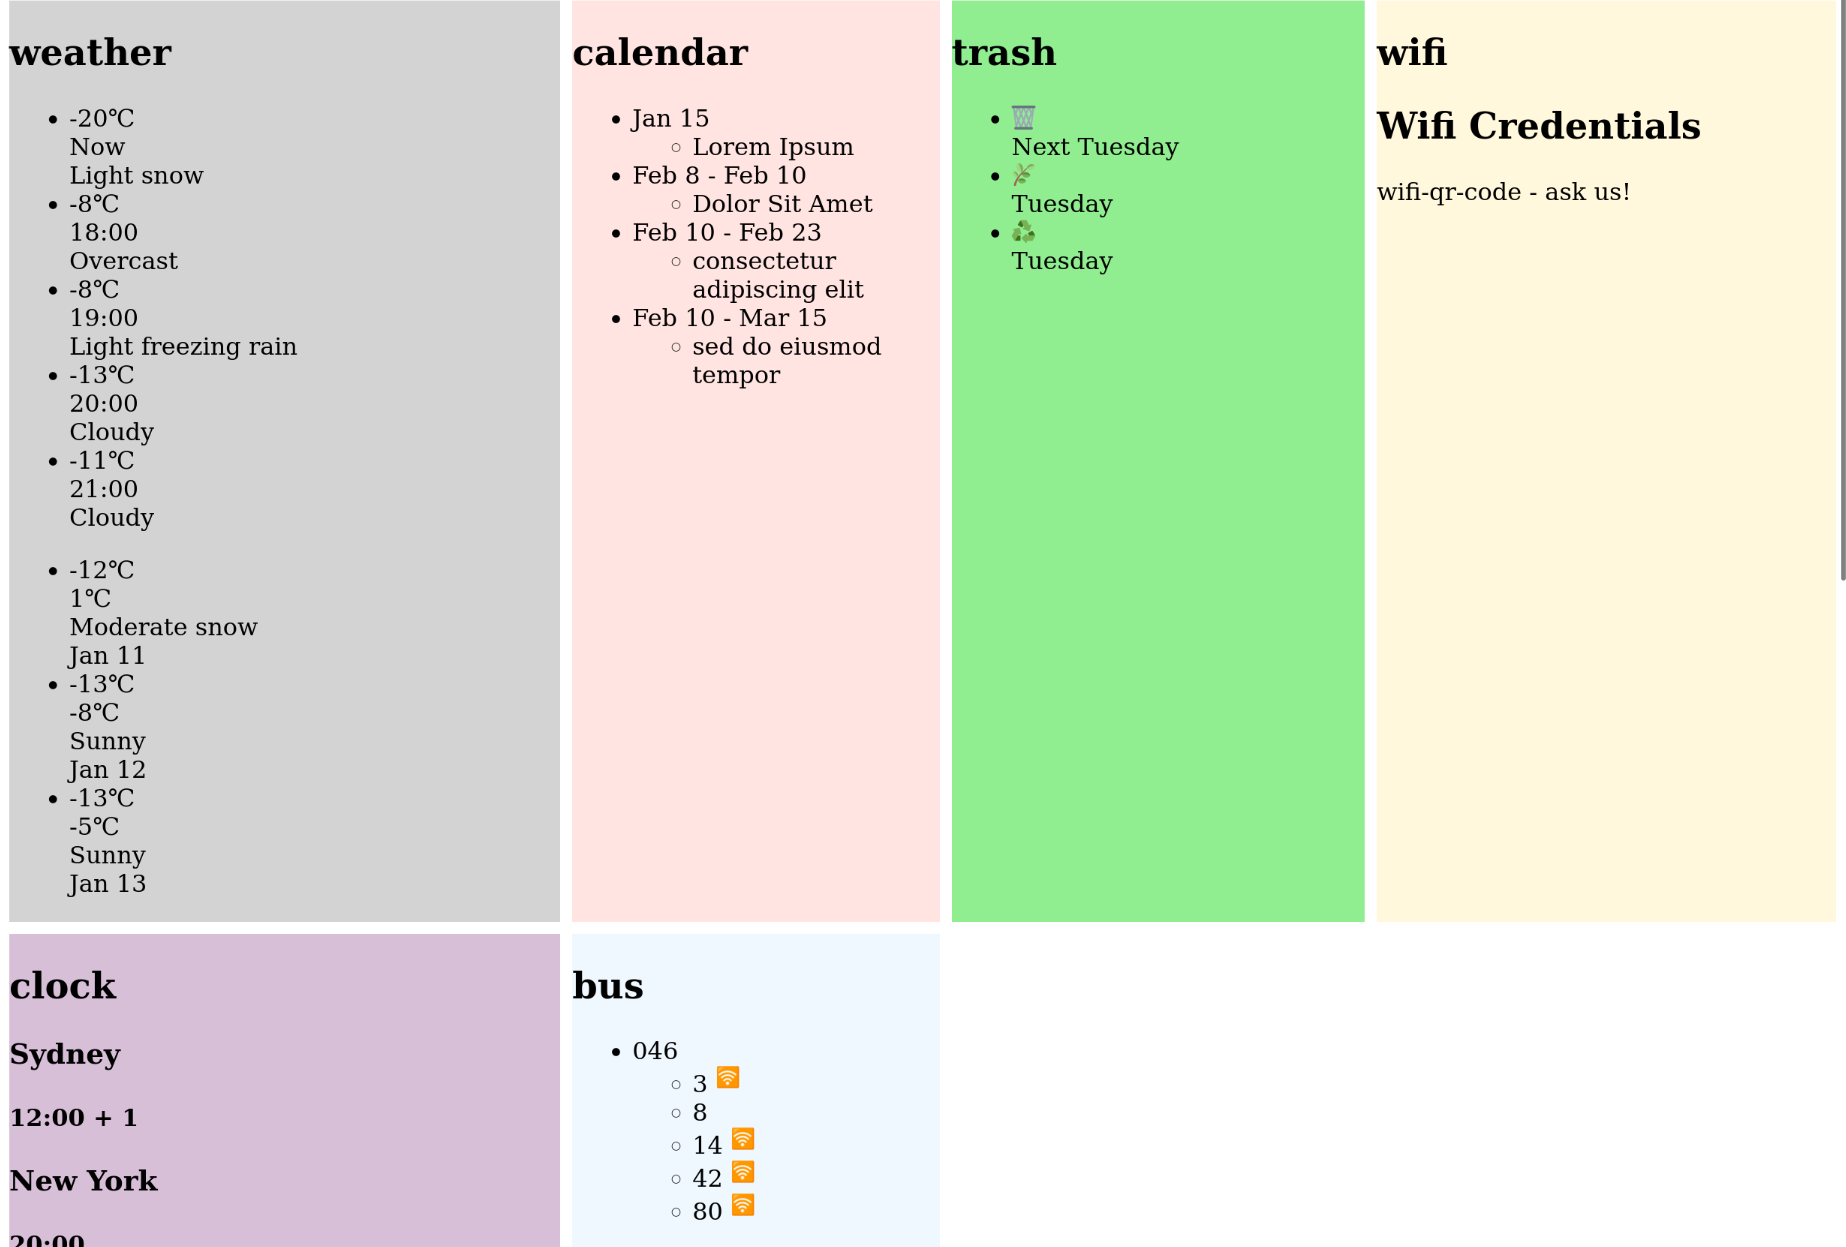
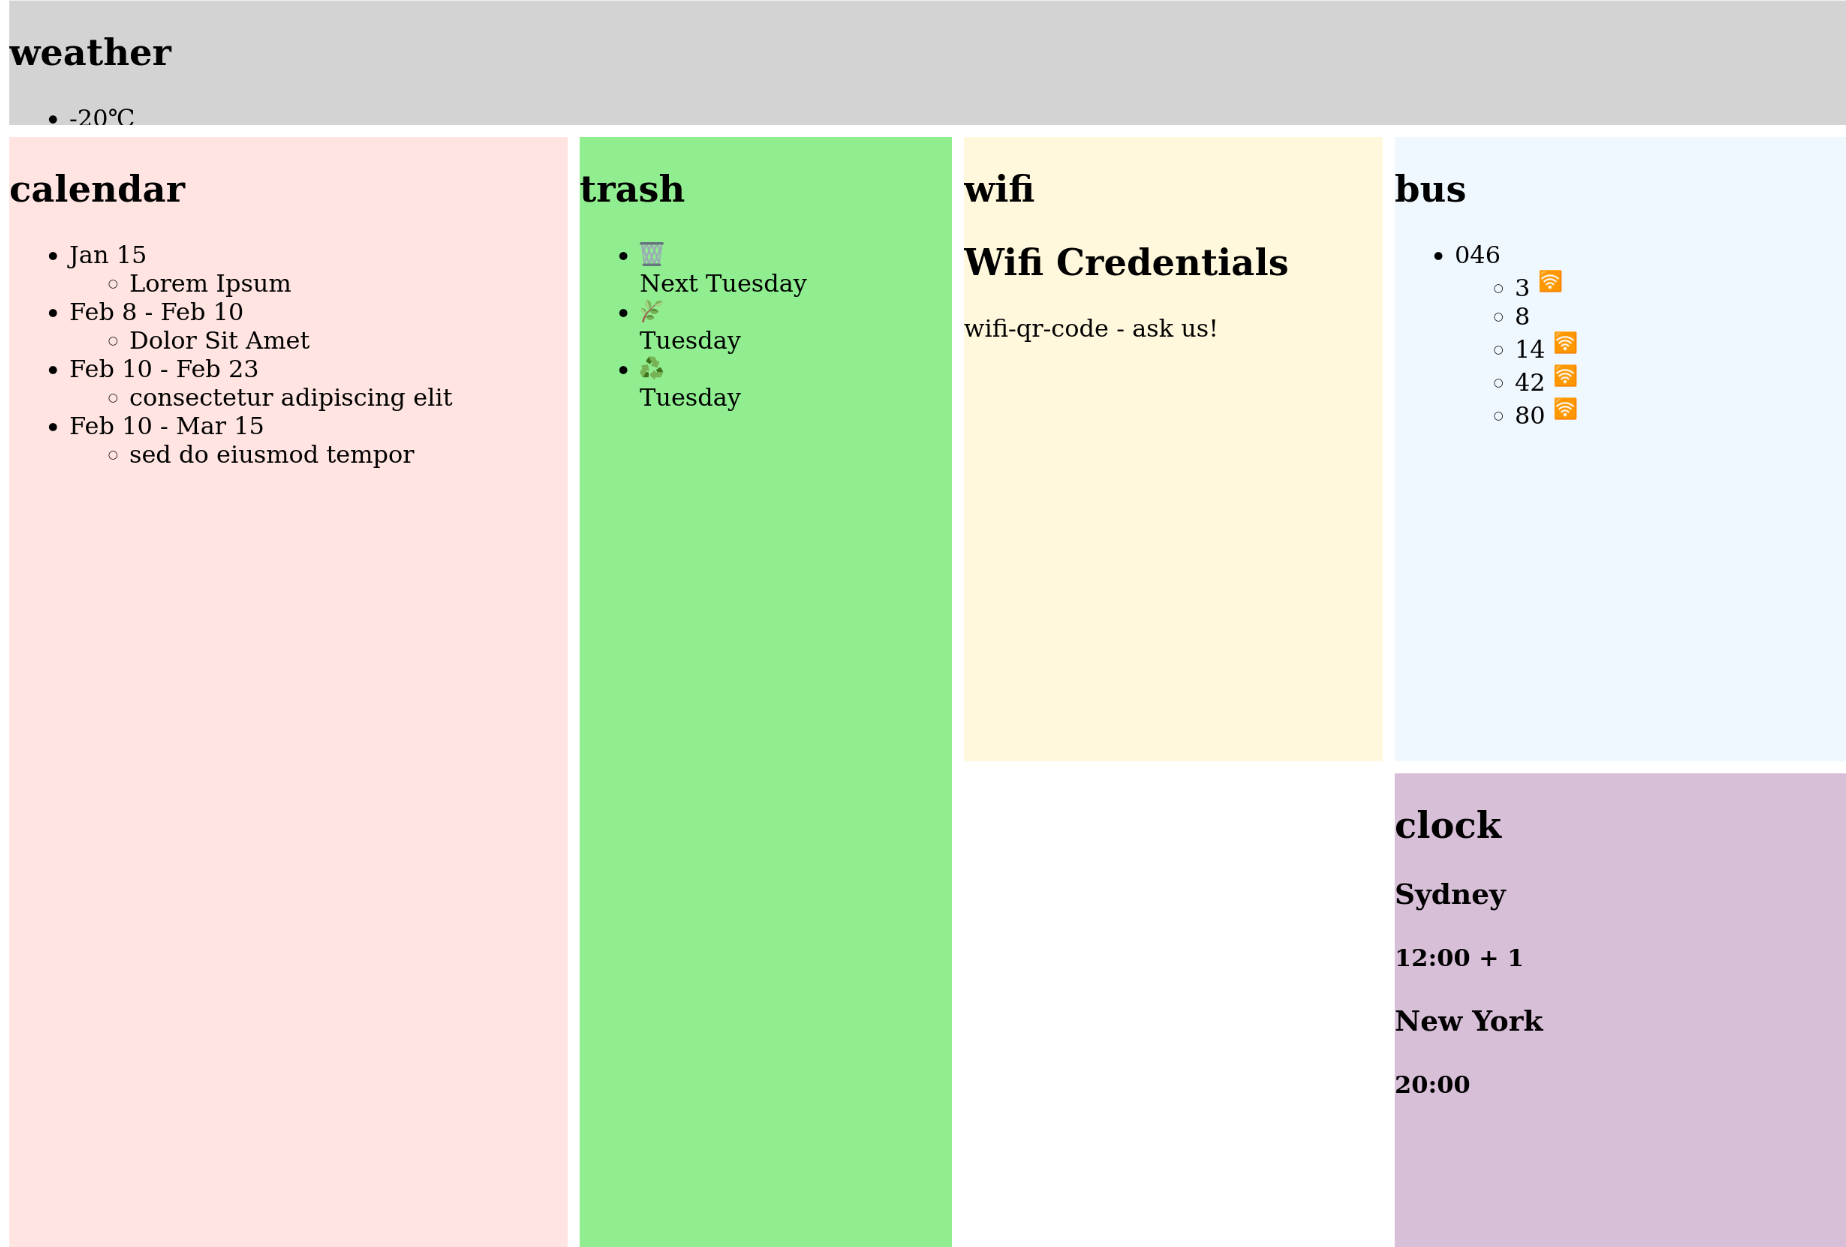
But that's not the layout we specified. So we give them names:
.bus {
    grid-area: bus;
    --bg: aliceblue;
    --2nd: lightblue;
}
This is starting to look right, but it's not really following our arrangement.
There's a bunch of new units we have access to. No mouse means no scroll bars, so we'll use vh and vw, viewport height and width.
width: 100vw; /* 100% viewport width */
height: 100vh; /* 100% viewport height */
And we can specify the sizes we want in terms of fr units.
grid-template-rows: .2fr 1fr .8fr;
This roughly means "10%, 50%, 40%."
The fr values are a ratio, rather than absolute values.
And from there, it's just some basic styling:
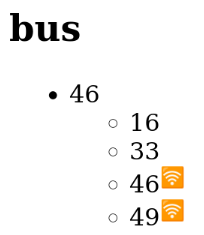
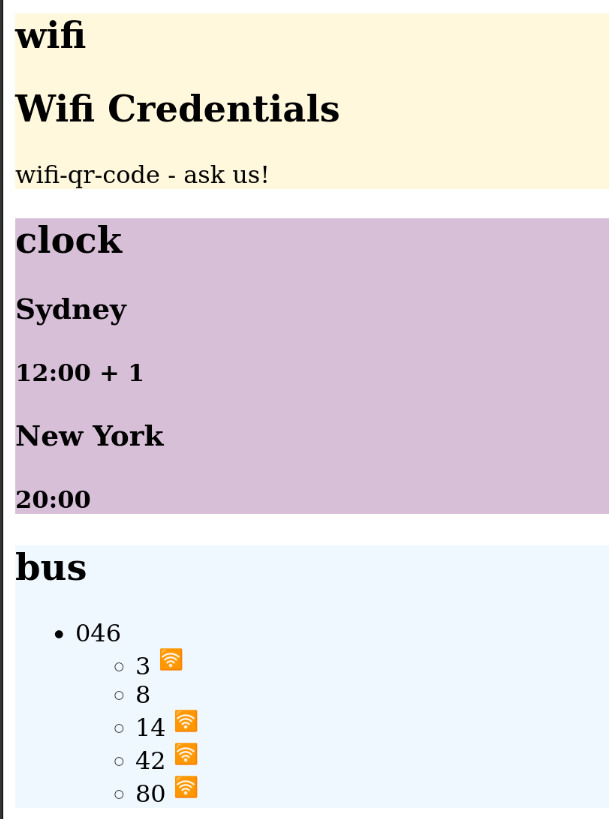
/* reset the default padding and margins from ul */
ul {
  padding: 0;
  margin: 0;
}

/* we don't use the headings */
h2,
h3 {
    display: none;
}

/* make a little box with the route number */
bus .route-line {
    background-color: var(--2nd);
    padding: .5em;
    list-style: none;
    text-align: center;
}

/* get out of here bullets */
.bus li {
    list-style: none;
    margin: 0.5em;
}

/* I can deny it no longer! ...i am small */
.bus .arrival-live {
    font-size: var(--font-tiny);
}
![The bus gauge with [26] in blue, and the background in lighter blue. several numbers are listed below.](./static/den-tv-styled-bus-gauge.png)
One of the last changes I made was for legibility. The display we're using is only 720p, and I wanted to be able to see it from a distance. For the font, I went with Overpass, based on the venerable Highway Gothic used on American highway signs2.
The other thing was slightly bolding everything:
:root {
    font-weight: 600;
}
The End Result
Next Time
Deployment! I'll walk through how deployed the client, the server, and the development tooling I build along the way